How do Admins Set up and Use Check-in and Check-out (CICO) Feature?
Overview
Check-in/Check-out (CICO) is a smart attendance and student tracking solution that provides the following key features:
- Secure Check-in/Check-out - Utilizes unique PINs and QR codes to ensure only authorized individuals can check students in and out.
- Authorized Access Control - Restricts check-in/out privileges to verified parents or designated guardians, maintaining a secure handover process.
- Live Attendance Monitoring - Provides real-time visibility into student attendance status, enabling staff and administrators to track arrivals, departures, and absences instantly.
- Automated Late Pickup Fees - Supports configurable late pickup policies and can automatically apply charges based on predefined thresholds
Who’s Involved
Parent (Account Holder): Generates CICO PIN and QR code for an authorized user.
- Admin or Staff with Permission can:
Generate CICO PIN or QR Code for an authorized user if needed
Perform CICO
Run live attendance and late-fee reports
Configure CICO
Set Late Pickup Fees

Viewing and Regenerating Codes
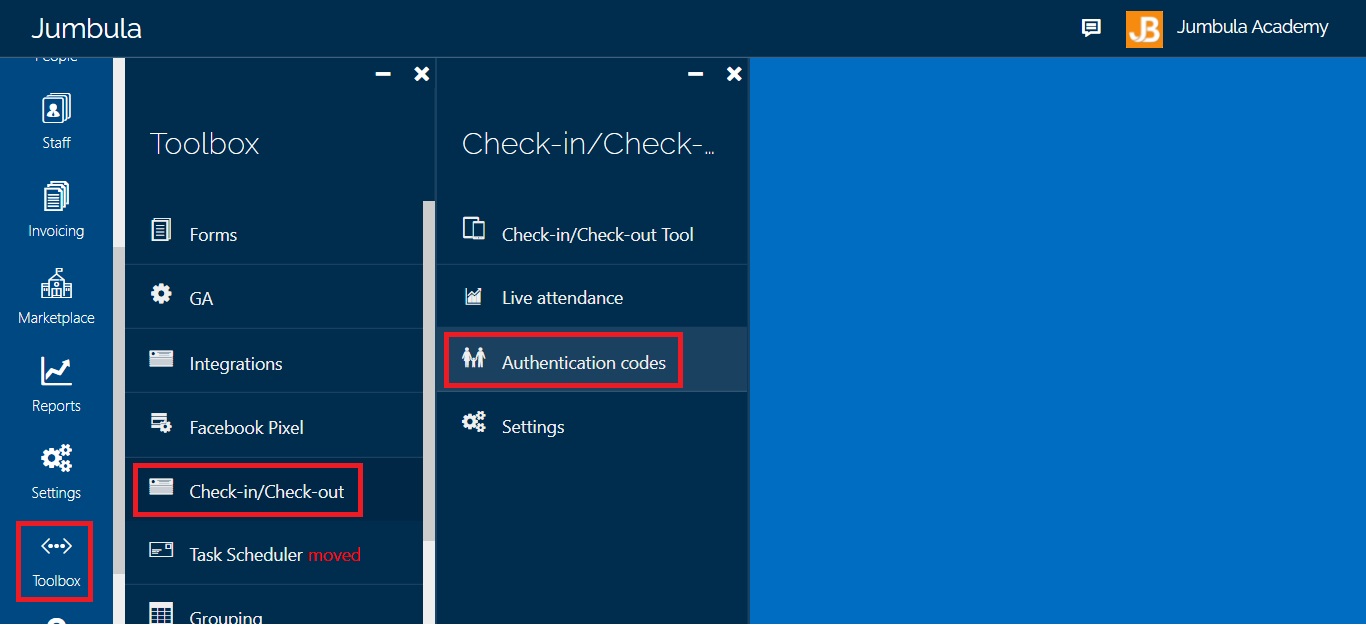
Step 1: Go to Classic Admin dashboard > Toolbox > Check-in/Check-out > Authentication codes
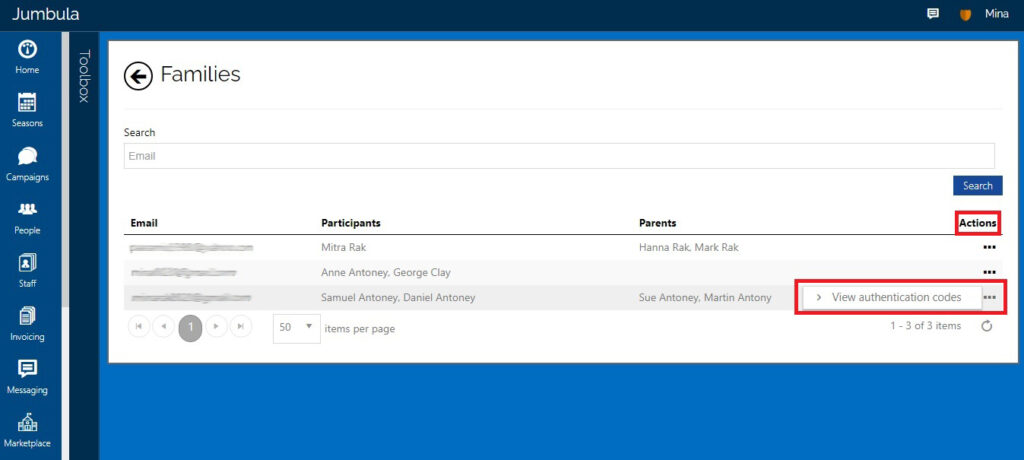
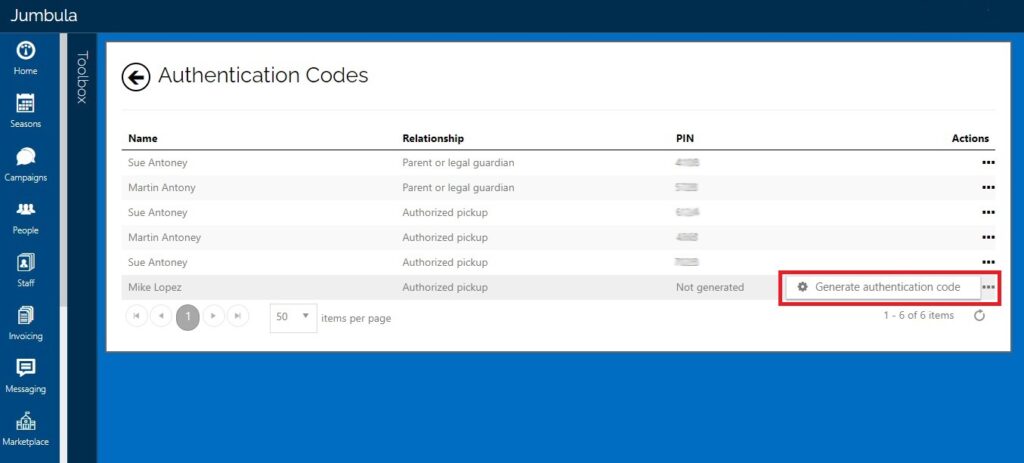
Step 2: Here you can search for a specific email for which you need the authentication code. If the email does not have a corresponding code, you can generate the code by hovering over the Actions button and clicking on View authentication codes:
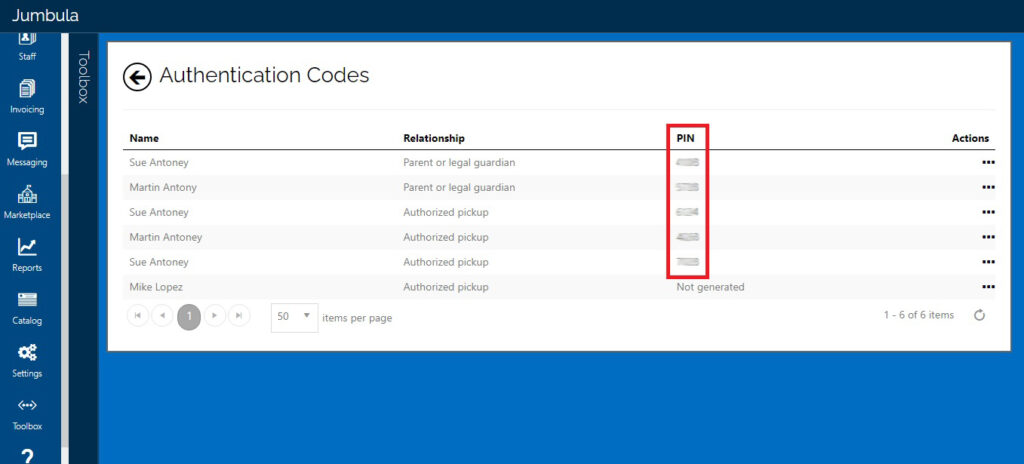
Step 3: You can view the authentication codes for parents and authorized individuals:
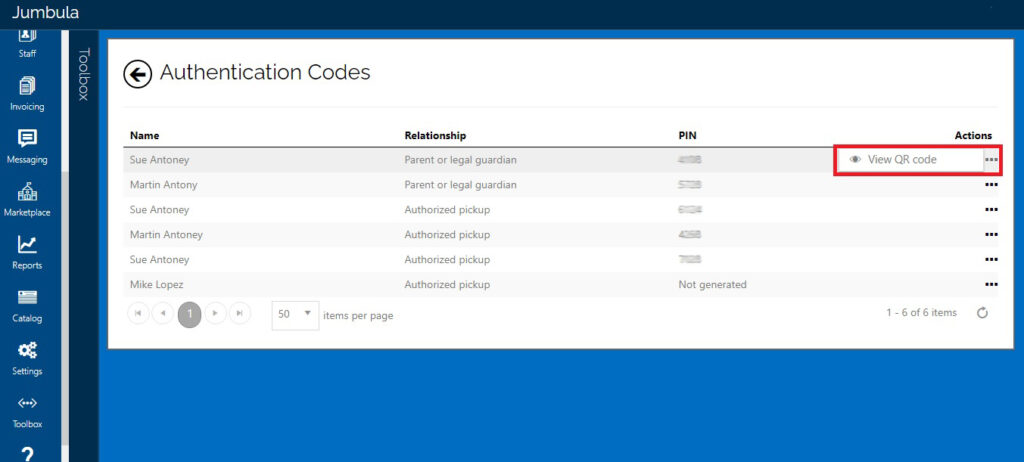
Step 4: You can use QR codes instead of PIN codes. Hover over the Actions button and click on View QR code. You can also generate authentication codes on behalf of parents. Hover over the Action button and click on Generate authentication code.
Perform CICO
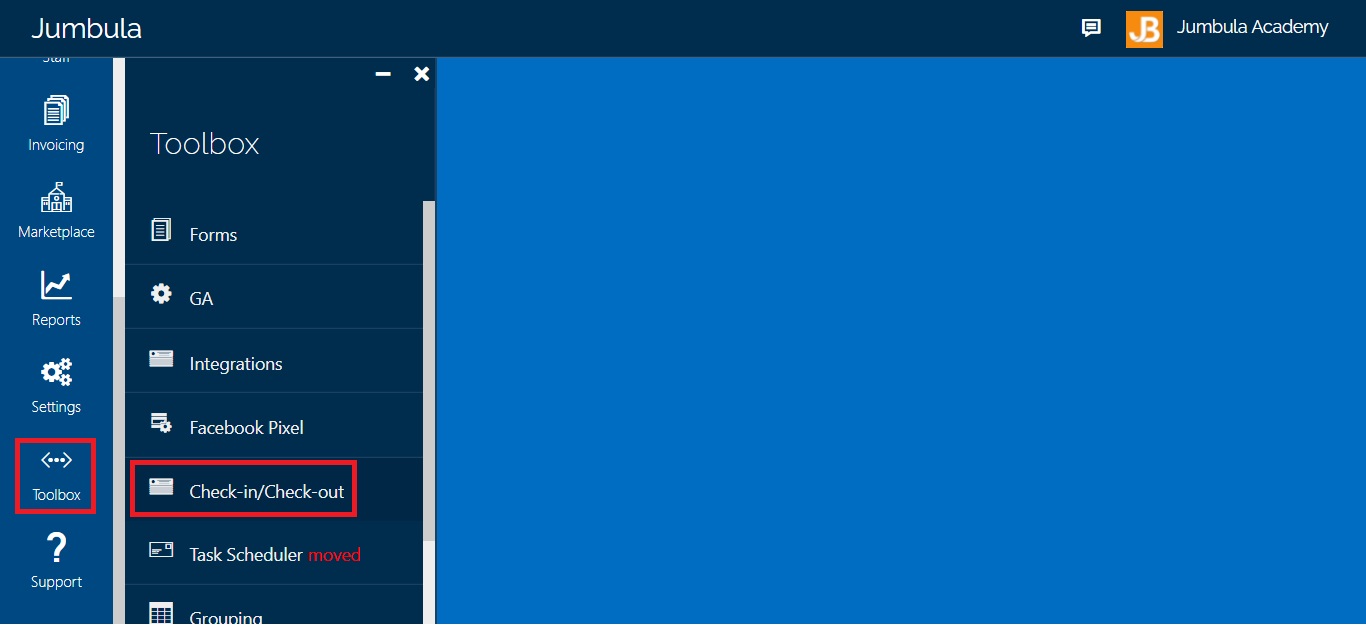
Step 1: Go to Classic Admin dashboard > Toolbox > Check-in/Check-out > Check-in/Check-out Tool:
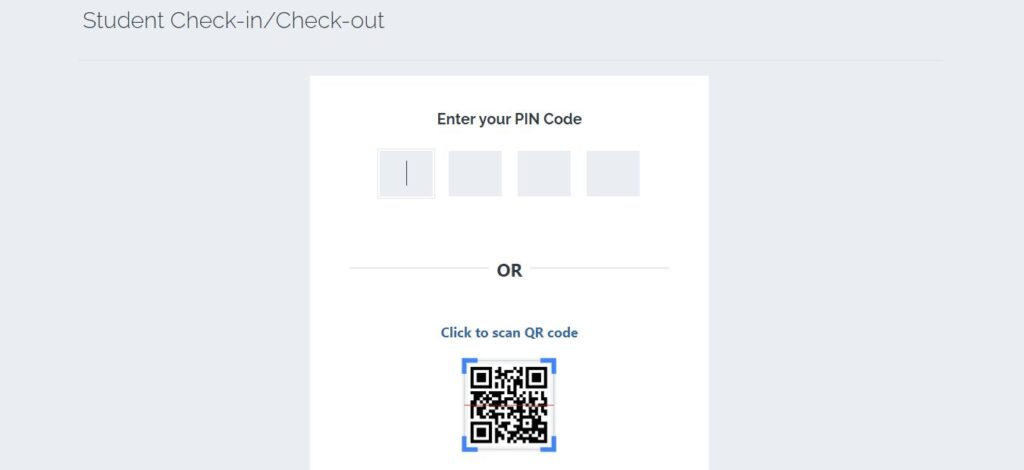
Step 2: A new tab will be opened in your browser. Enter the authentication PIN code of the student who is checking into the class or checking out. You can also scan the QR code instead of entering the PIN code:
Step 3: Click on Check in (if the student is entering the class) or Check out (if the student is leaving the class) next to the name of the student:
The screen shows how much time you have to perform the operations for security reasons. The timeout is configurable in CICO Settings:
Live Attendance Reports
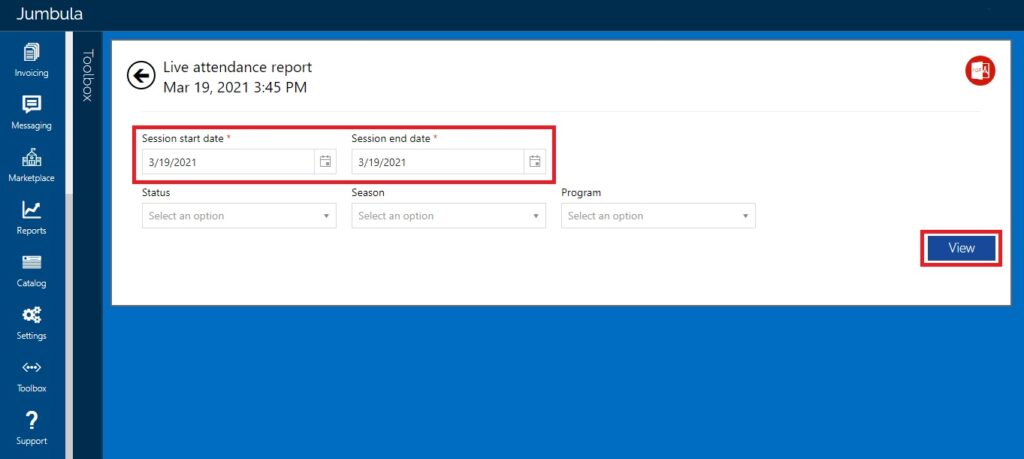
Step 1: Go to Classic Admin dashboard > Toolbox > Check-in/Check-out > Live attendance.
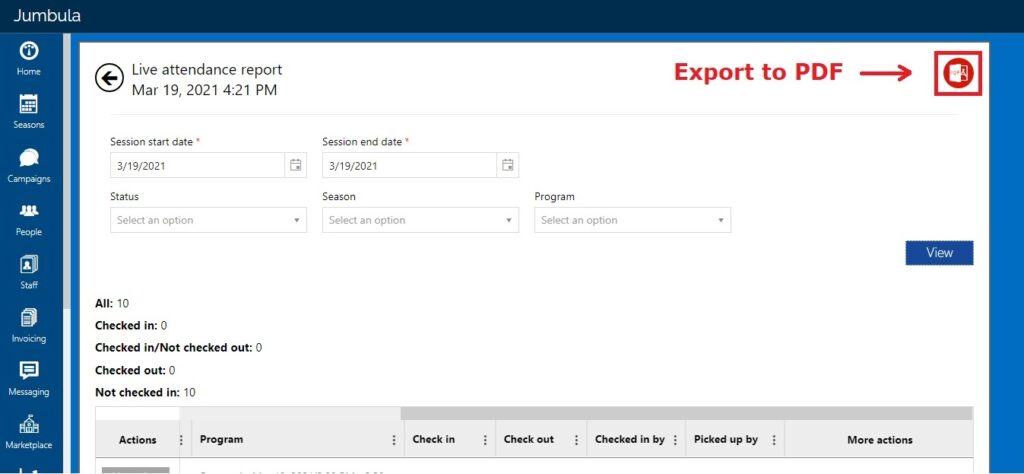
Step 2: From the Session date box, you should select the desired date. Set the filters and then click on View:
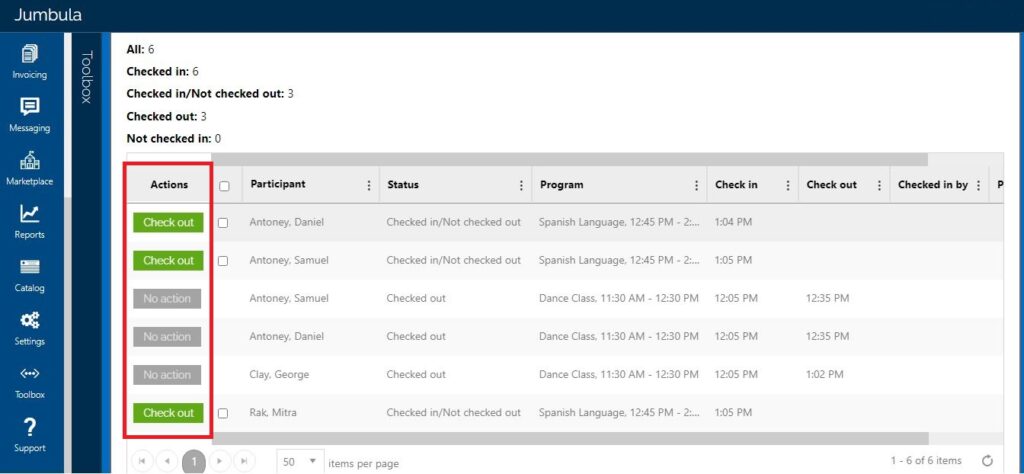
Step 3: From this report, you can also initiate the check-in and check-out of students using the Actions menu:
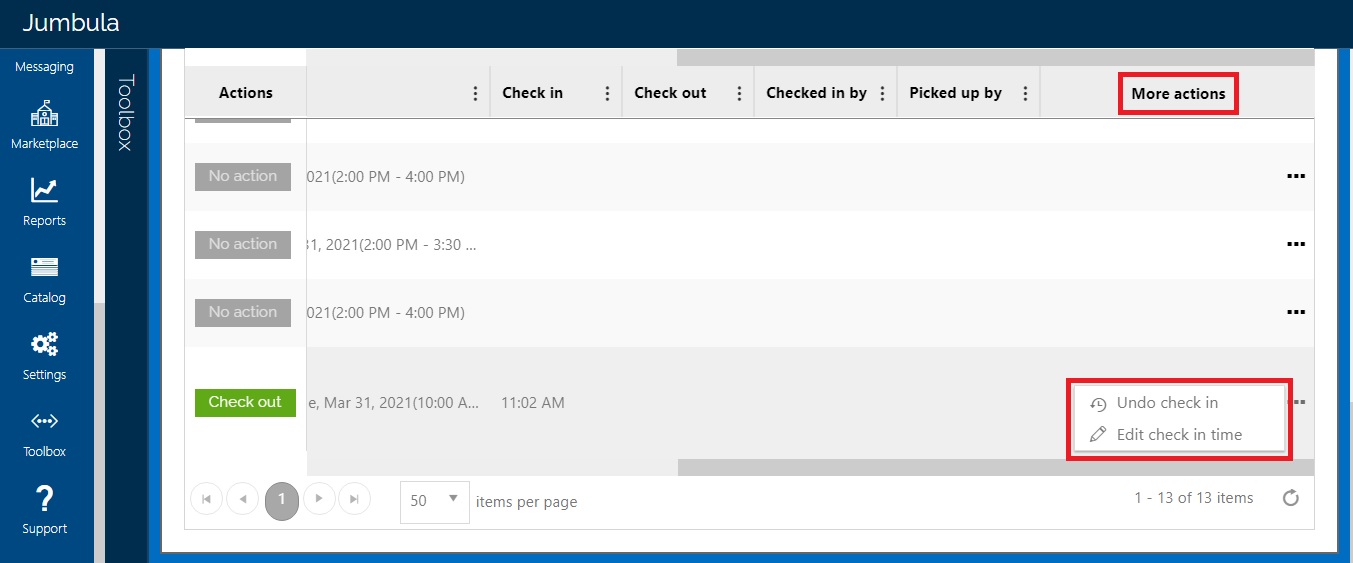
Note: "No action" is displayed for sessions that are ended.By scrolling to the right side of your page you see the More actions. When you check-in or check-out a student by mistake and want to undo it, hover over ... (three dots) in More actions column and click on Undo check-out or Undo check-in. You can edit the time by clicking on Edit check-out time or Edit check-in time:
If you want to have your report as a PDF file, click on the red icon on the right corner of your page.
Late Pickup Fee Report
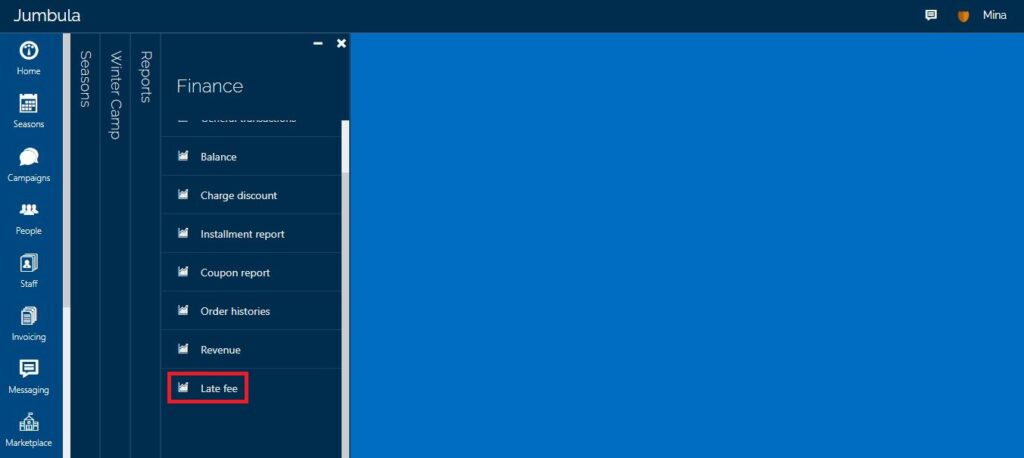
Step 1: Go to your Jumbula dashboard and click on Seasons, select your desired season and then Reports > Finance > Late fee: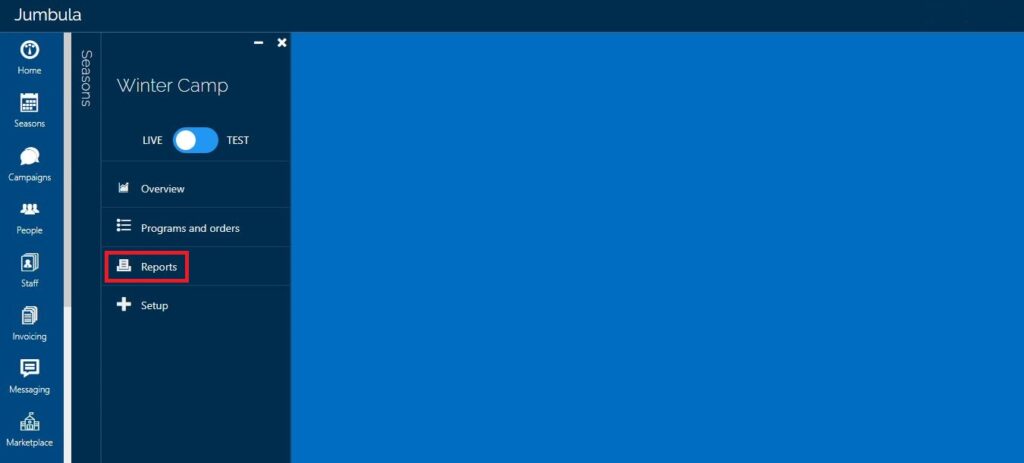
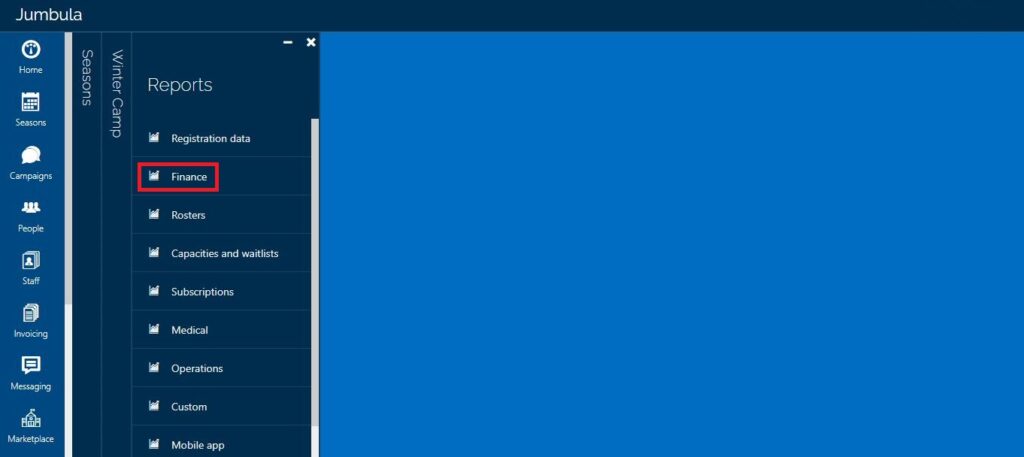 >
> 
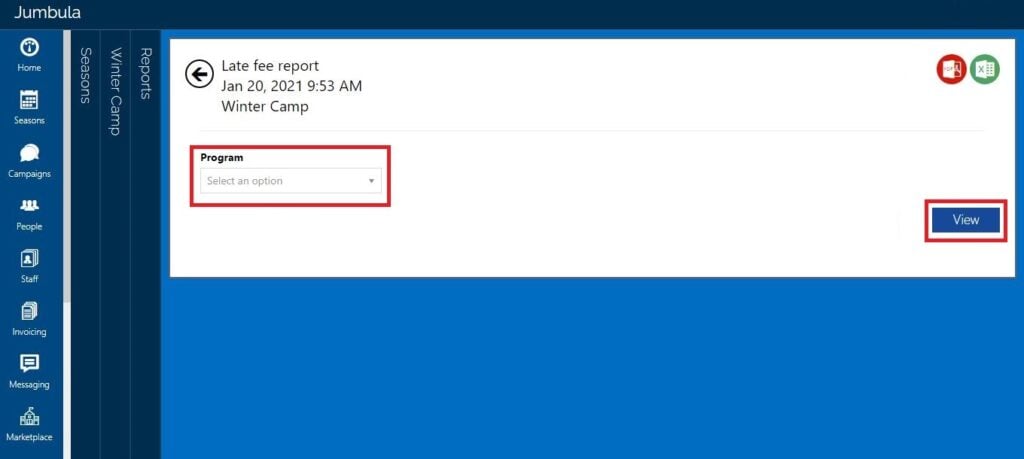
Step 2: Choose the program that you want to have its late fee report from the Program drop-down menu and click on View:
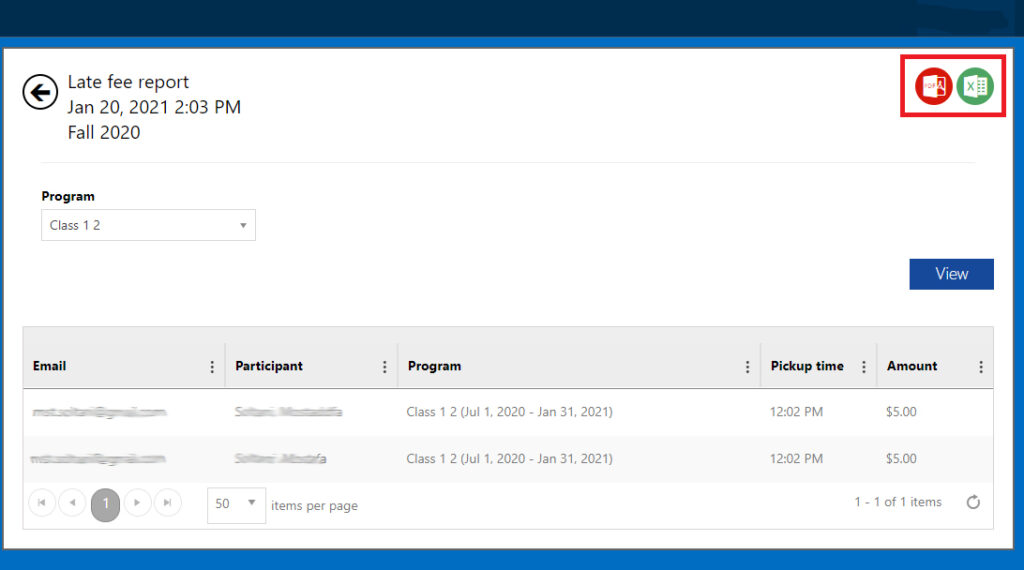
Step 3: You can export your report to the Excel or PDF file by clicking on the icons at the top right corner of your page:
Configure CICO Settings
- Location ID can be used to enter a value that will appear on reports as a reference.
- Enable signature will require an authorized user to e-sign after entering the PIN or QR code during check-in and check-out.
- Allow participants to perform self check-in and check-out allows the students to do check-in and check-out themselves.
- Show the check-out button after the class end time (hour) sets number of hours after the end of the class the check-out can happen.
- Time allowed to enter the authorization code for check-in or check-out (seconds) sets a limit on the time parents have to enter the authorization code for check-in or check-out.
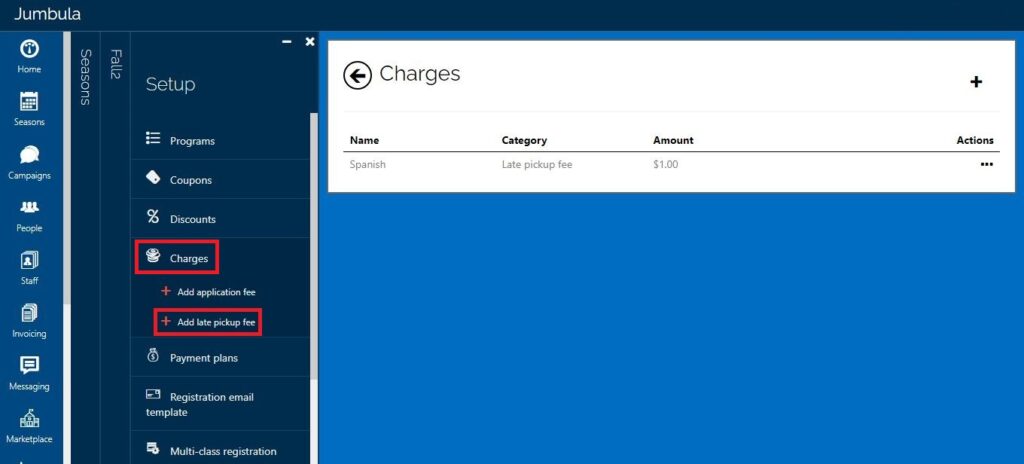
Configure Late Pickup Fees
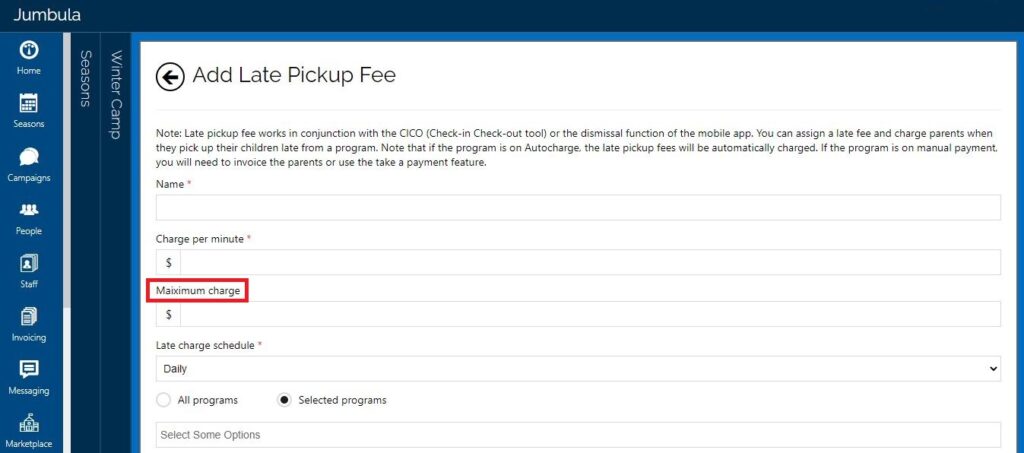
You might want to charge parents if they pick their children up late from a program to force them to be on time. Follow the steps below to define your late pickup charges. Note: Late pickup fee works in conjunction with Check-in Check-out tool.
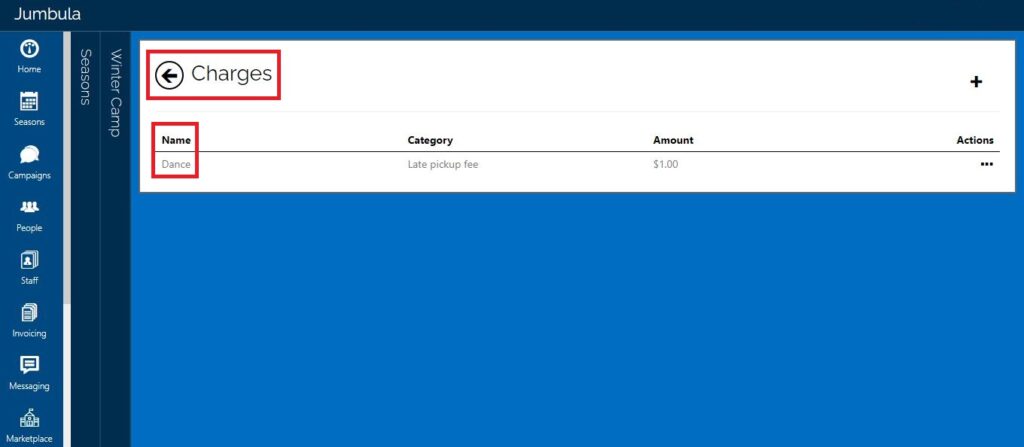
Step 2: Enter a name in the Name box, this will appear in the list of your charges:
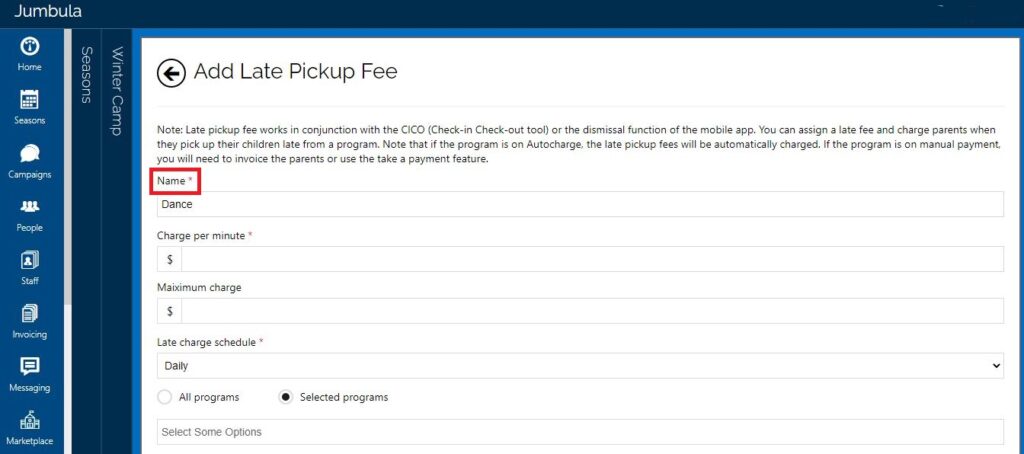
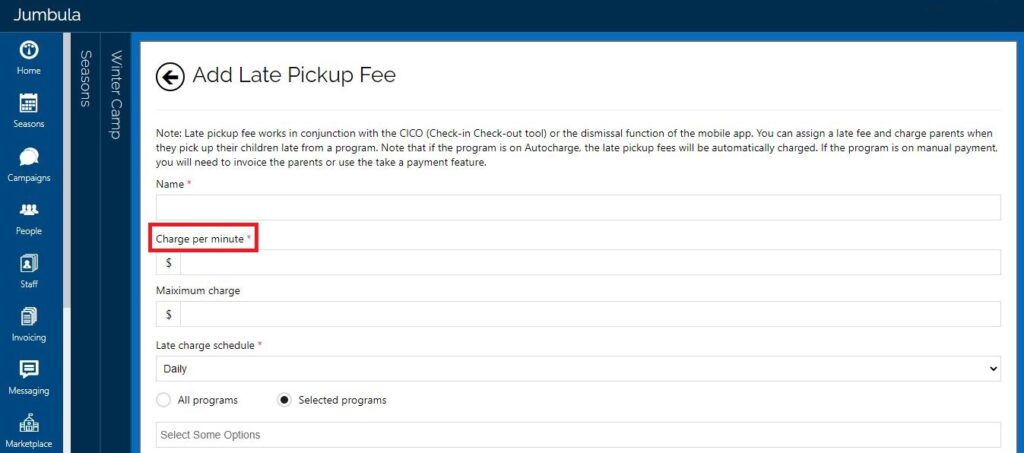
Step 3: In the Charge per minute box enter the amount that you want to charge parents for every late minute:
Step 4: In the Maximum charge box, you can set a maximum charge for the total amount per session. For example, if you set $1 for charge per minute and set $30 for the maximum charge, then if parents pick up student 35 minutes late, they will be charged a total fee of $30 instead of $35:
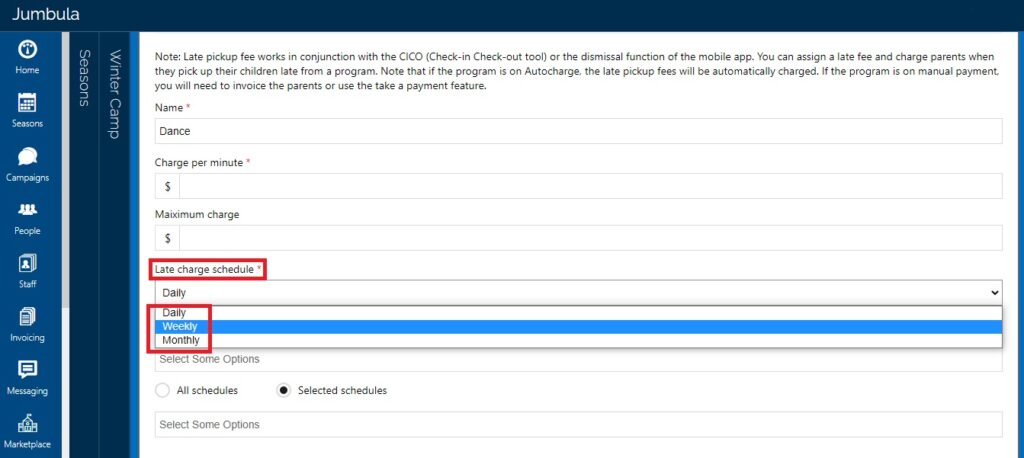
Step 5: At this step you can determine when you want to run this charge, each day, each week or each month.
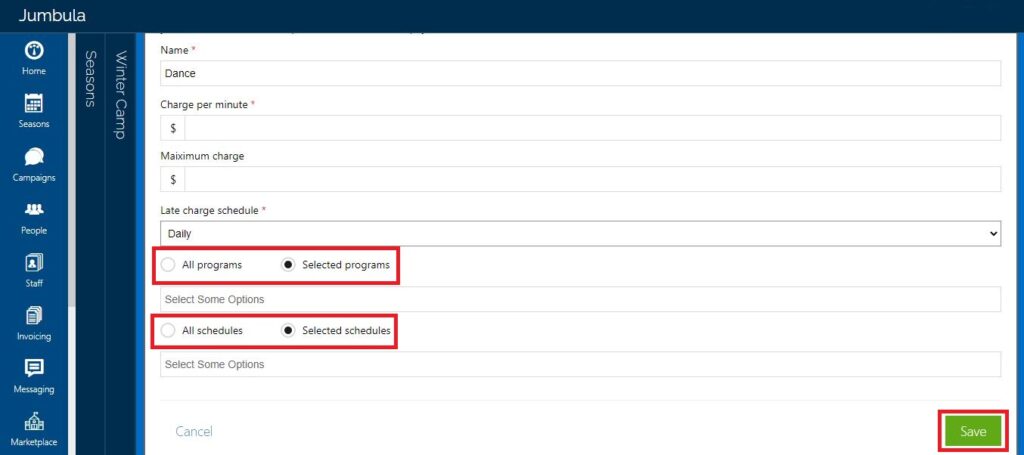
Step 6: By choosing Selected programs or Selected schedules you can assign this late pickup fee to the programs and schedules that you want. You can also apply this charge to all your programs and schedules by choosing All programs or All Schedules and then click on Save:
Related Topics
Related Articles
Webinar - CICO (Check-in / Check-out)
CICO (Check-in / Check-out) Learn how to use Jumbula’s Check-In/Check-Out feature to improve safety and simplify daily operations. We’ll cover key features, real-life use cases, and how to track attendance, manage pickups, and support child safety ...How do Parents Use Check-in and Check-out (CICO) Feature?
Overview Check-in/Check-out (CICO) is a smart attendance and student tracking solution that provides the following key features: Secure Check-in/Check-out - Utilizes unique PINs and QR codes to ensure only authorized individuals can check students in ...How does the late pickup fee work?
Late fees trigger through Check-in/Check-out (CICO) or mobile app dismissal. With Autocharge, fees charge automatically; otherwise, you’ll need to invoice or collect manually. Need help? Our support team is here to help you succeed. Contact us at ...Can I add more than one application fee?
No, only one application fee can be set per season. ? View full guide → Adding application fee to a season Need help? Our support team is here to help you succeed. Contact us at support@jumbula.com, or use the live chat widget on your Admin ...How to run a waivers report?
Overview As you receive enrollments and collect waivers from participants, you can run a Waivers report to track waiver-related information across your programs. This report helps you review waiver statuses, search for specific participants, and ...