Surcharge overview
You can configure the shopping cart and add a Surcharge, for example to recover your credit processing fees.
Follow the instructions below
- Go to Jumbula dashboard > Setting > Checkout
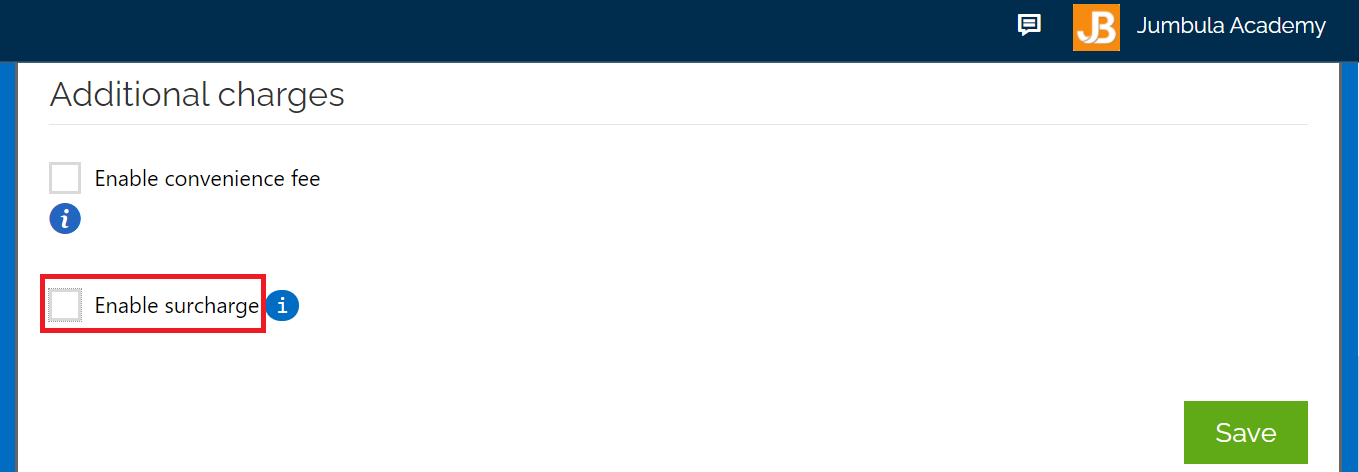
- Scroll down to find the Additional charges section
- Tick the Enable surcharge checkbox
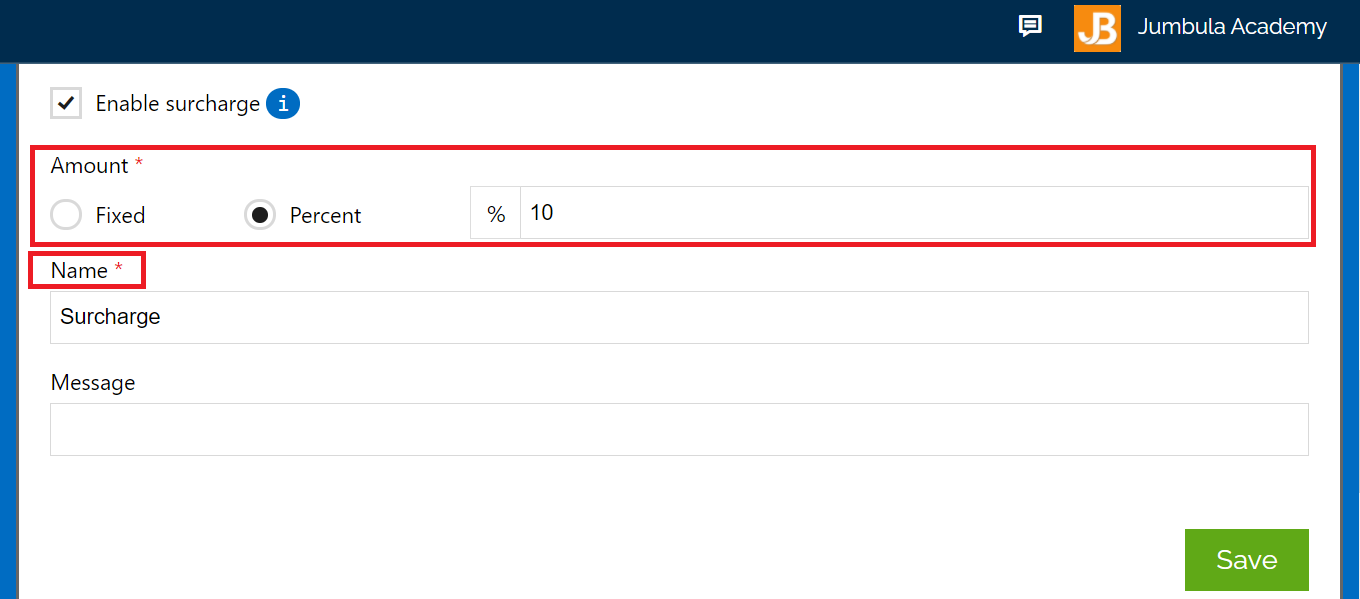
- Determine the Amount
- Enter a Name
You must enter the name of the fee as you would want your users to see it in their receipt. - Add a Massage
You can also add text that would show up at the checkout cart. - Click Save
Once the surcharge becomes enable, it automatically applies to each shopping cart based on your setup.
How surcharge is applied to the shopping cart?
The surcharge is applied to shopping carts based on how you set up its type. You have two options to specify the type:
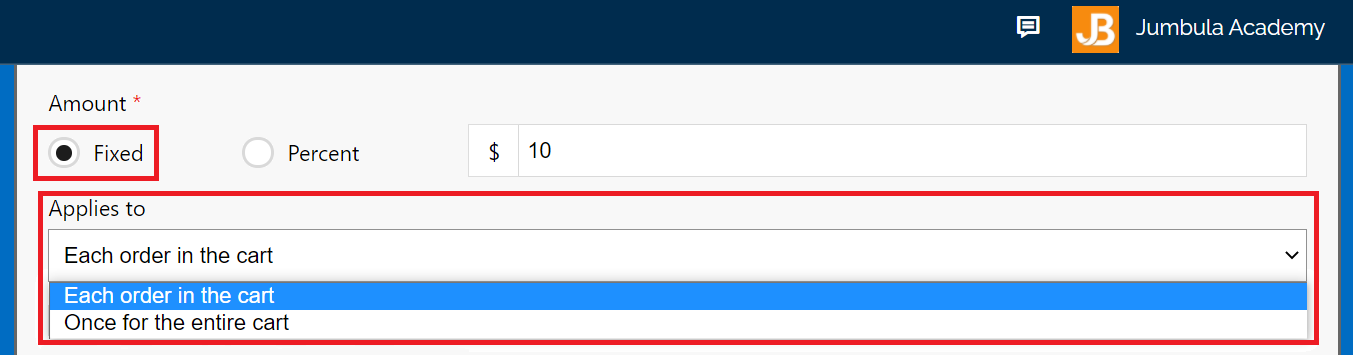
- Fixed Amount
If you select the Fixed option for the surcharge, you must determine how it applies to the shopping cart. You can apply it to:
- Each order to the cart
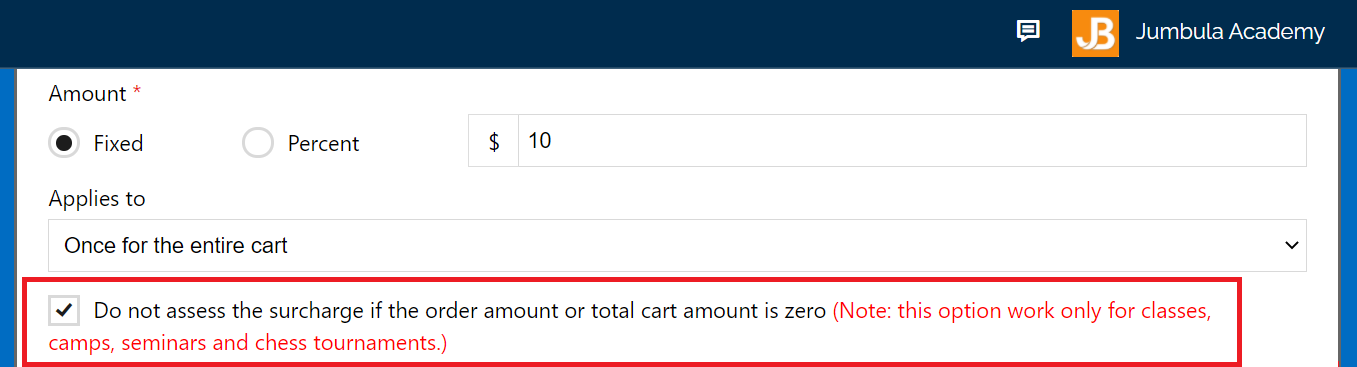
- Once for the entire cart
In the case that you offer free programs, you can exempt them from surcharge simply by ticking the checkbox below.
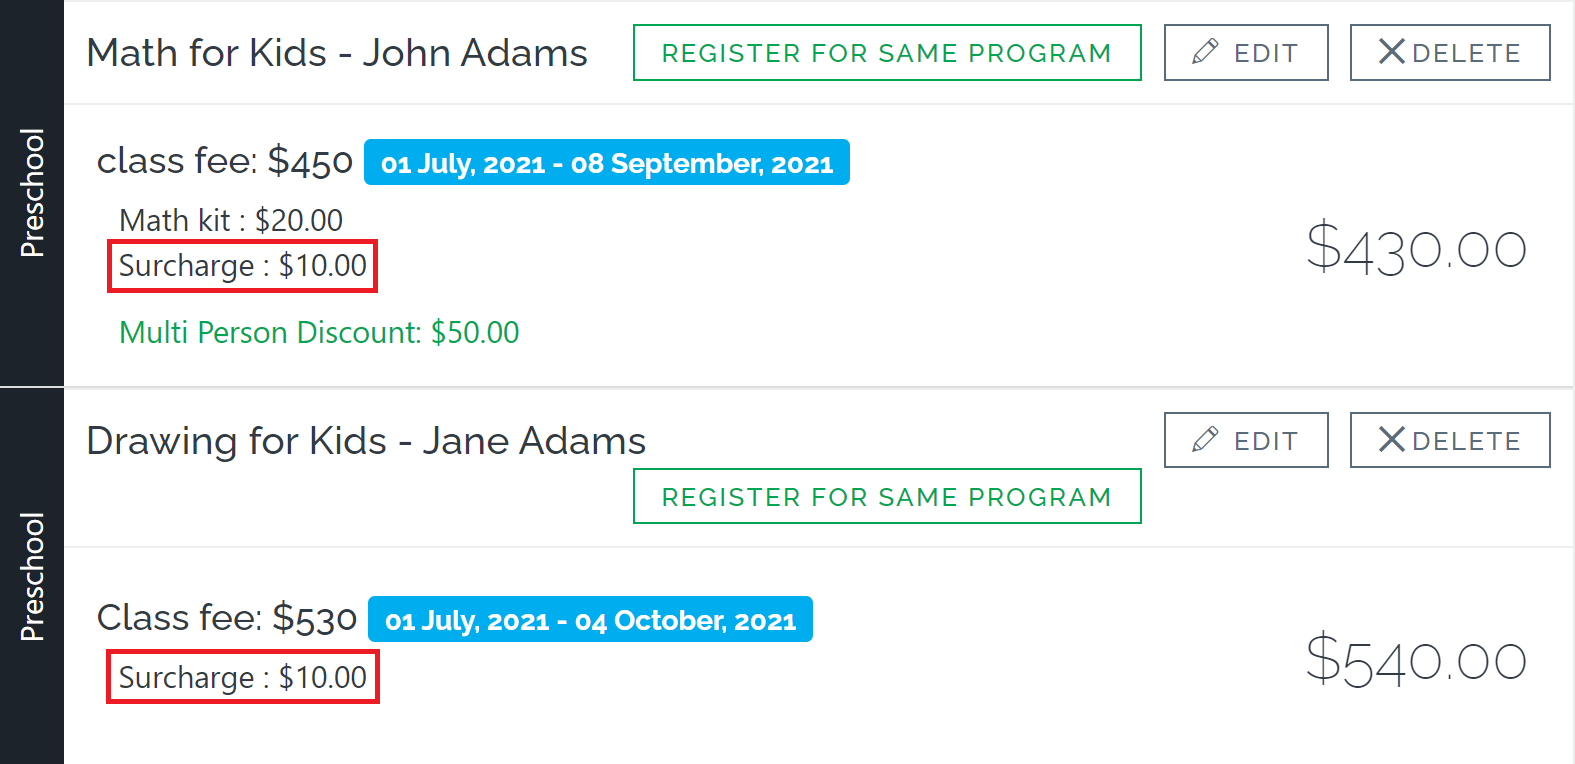
The following screenshot displays a shopping cart when a surcharge applied to each order in the cart. Here surcharge is $10.
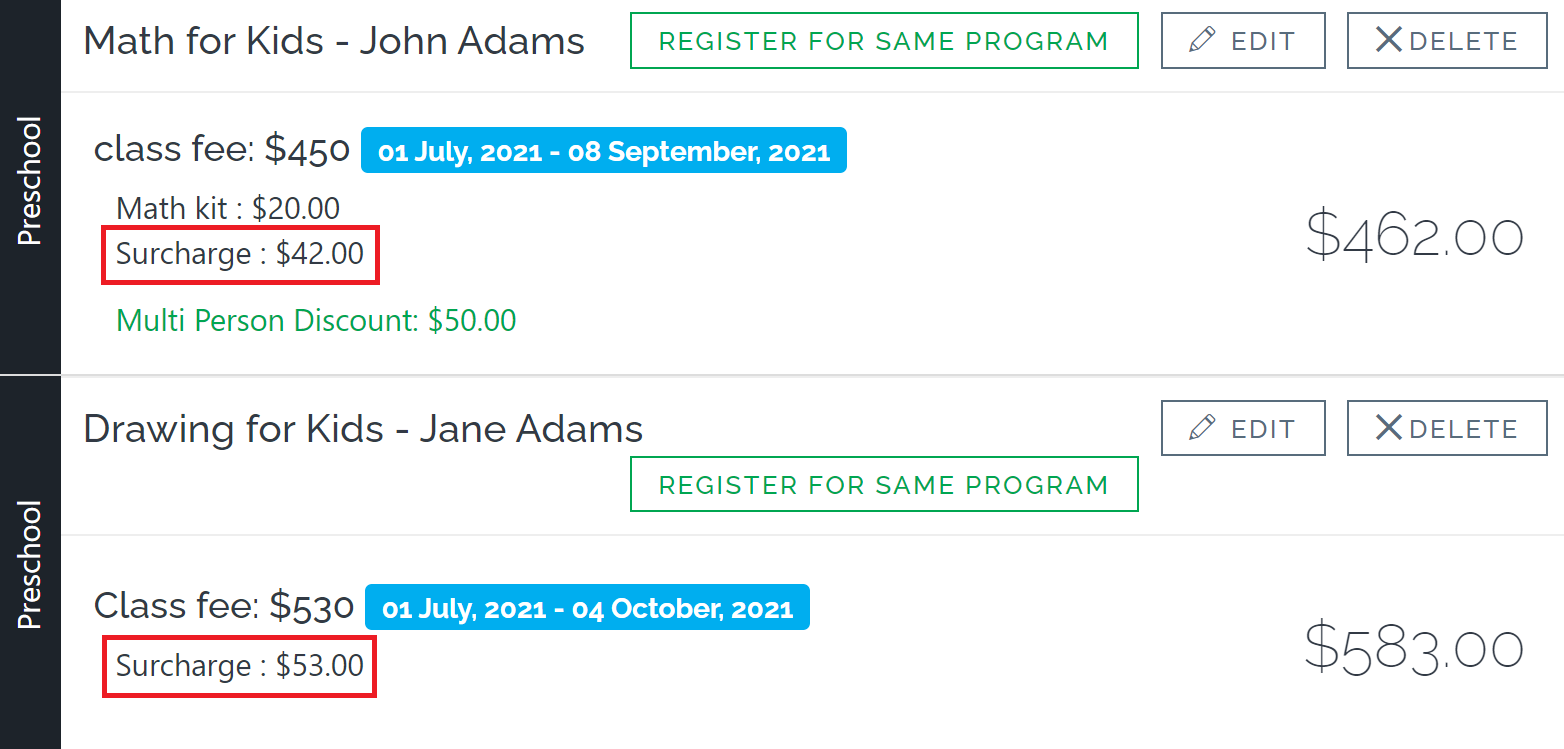
- Percentage-based AmountWhen the surcharge is percentage-based, it is calculated based on the total amount of the cart. Then it breaks down into some smaller amounts to apply to each order in the shopping cart.
Below is an example of a shopping cart to give you an idea of what registrants will see. Here the surcharge is 10%.
Contact us
Please don't hesitate to reach out if you have any questions. Contact our support team at support@jumbula.com.
Related Articles
Convenience fee overview
Add a convenience fee to your order checkout to compensate your organization for the payment processing charges. The convenience fee automatically gets added to the cart if a user pays with credit or debit cards, ACH, eChecks, or direct bank payment. ...The difference between the convenience fee and the surcharge
At first sight, the convenience fee and the surcharge seem similar. But conceptually they are different and have their own use cases. What is the convenience fee? Every time a registrant uses a credit card to register for your programs, you will be ...Can I add more than one application fee?
No, only one application fee can be set per season. ? View full guide → Adding application fee to a season Need help? Our support team is here to help you succeed. Contact us at support@jumbula.com, or use the live chat widget on your Admin ...Reporting overview
Overview After your season is published and enrollments begin, you can monitor registrations, capacities, waitlists, and financial data using built-in reports and dashboards. Who is involved Admins: Review registrations, capacity, and revenue. Before ...How does the late pickup fee work?
Late fees trigger through Check-in/Check-out (CICO) or mobile app dismissal. With Autocharge, fees charge automatically; otherwise, you’ll need to invoice or collect manually. Need help? Our support team is here to help you succeed. Contact us at ...